

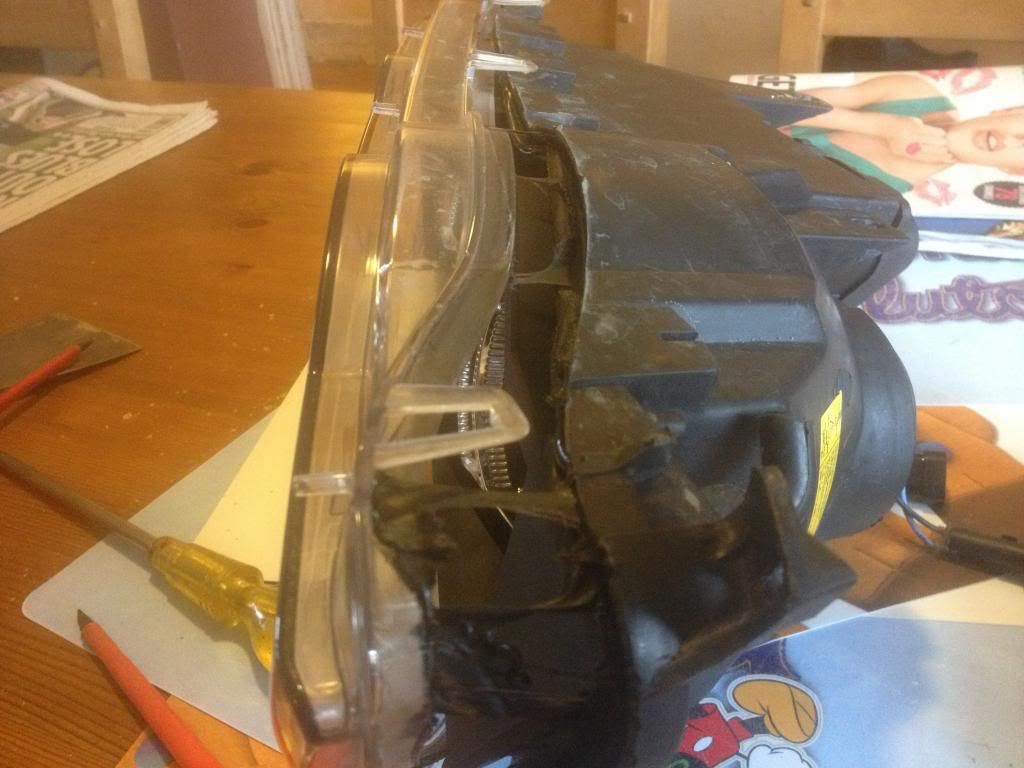
The next part was the hardest. There are 5 or six screws holding the inner black trim to the light and the screws are burried under the black tar so need a bit of digging and heating to remove them.
Once this is off twiddle the adjusters so they unscrew fully from their screws and then remove the levelling motor and manipulate the ball out of the side of it mount shown here......
This is what you will have when removed.........
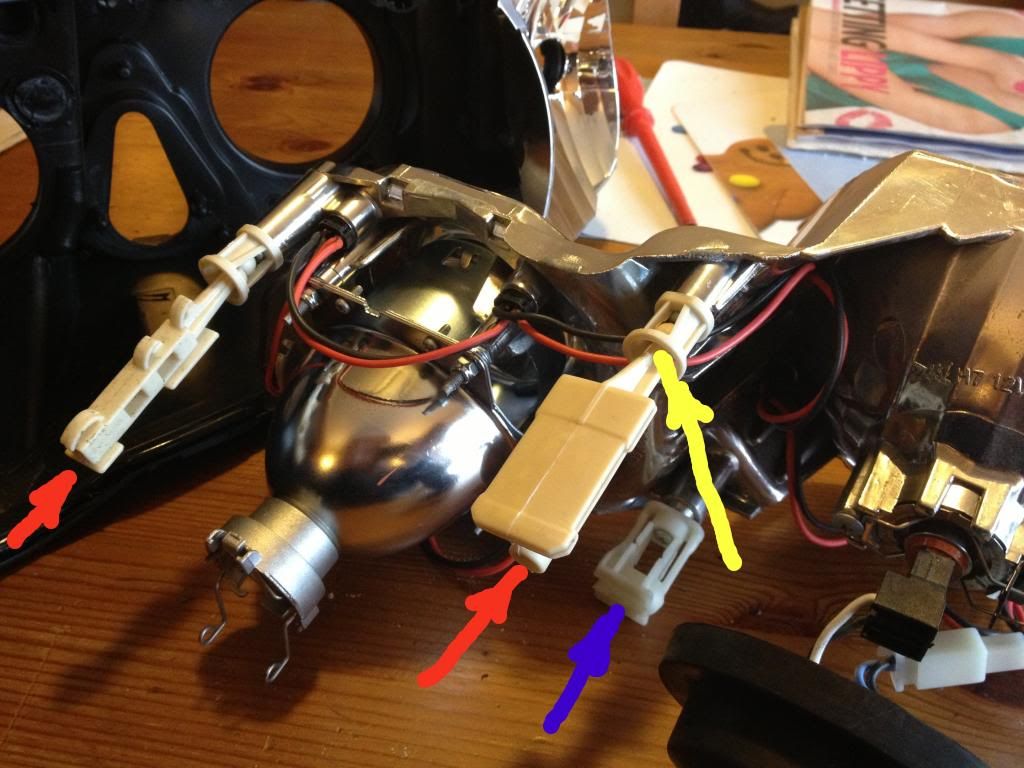
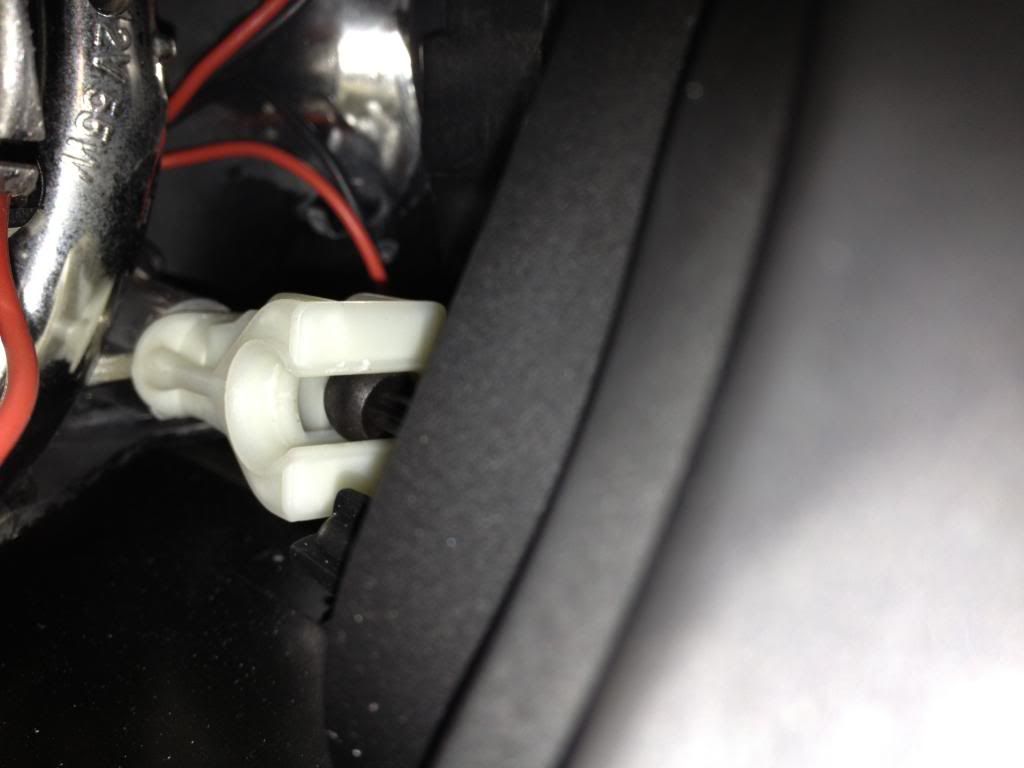
The yellow arrow shows the ball joint that had popped out on mine.
Red arrows show where the adjusting screws go into the plastic adjusters
Blue arrow is the socket for the levelling motor.
The seperated joint was easily put back in with the unit appart and as they say, assembly is the reverse..
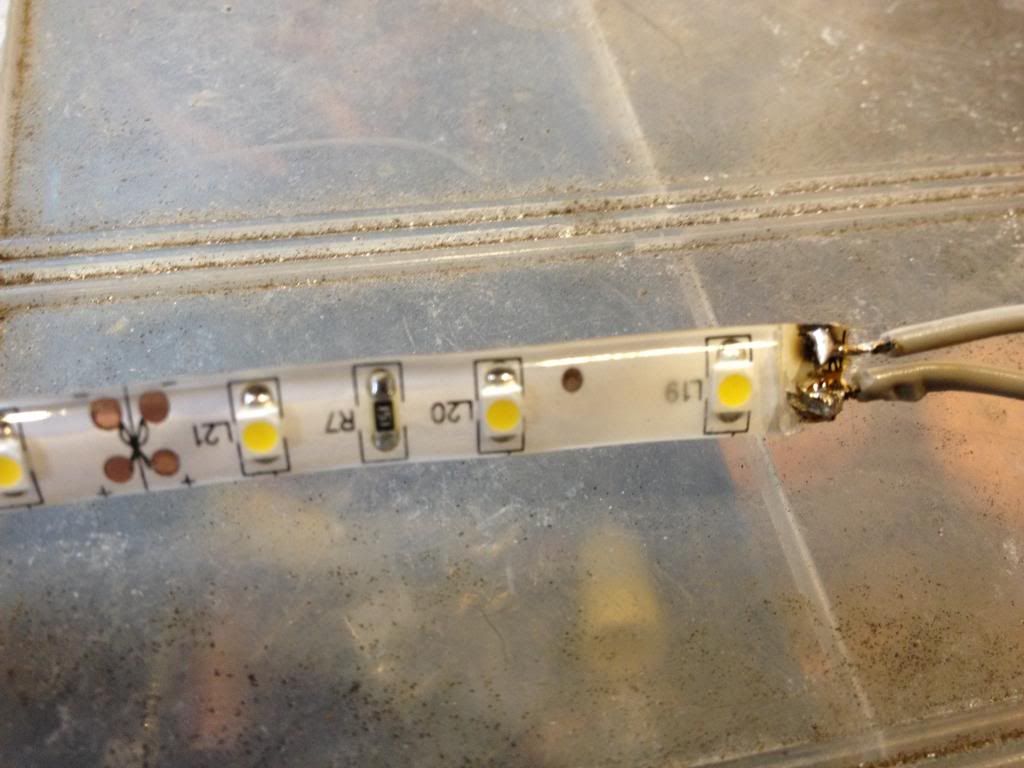
While I was there I took some measurments with a veiw to upgrading the halos to CCFL units. But thats another story.